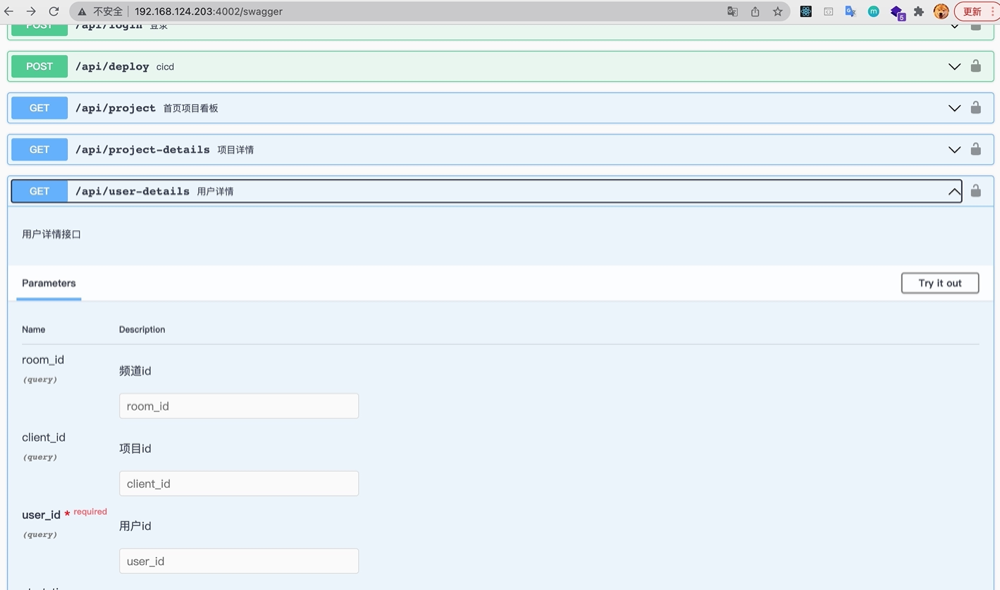
先看下效果
这里我用的是koa2+swagger
安装
// koa2-swagger-ui UI视图组件  swagger-jsdoc 识别写的 /***/ 转 json
npm install koa2-swagger-ui swagger-jsdoc --save
koa2-swagger-ui npm地址 (创建接口文档)
swagger-jsdoc npm地址 (这个库读取带有jsdoc注释的源代码,并生成OpenAPI (Swagger)规范。)
OpenAPI 规范摘要
配置
router.js
const router = require('koa-router')() //引入路由函数
const swaggerJSDoc = require('swagger-jsdoc')
const path = require('path')
const swaggerDefinition = {
  openapi: '3.0.1',
    info: {
        title: 'blog项目访问地址',
        version: '1.0.0',
        description: 'API',
    },
    basePath: '/', // Base path (optional)
    tags: [
      {
        name: 'manage',
        description: '管理系统'
      },
      {
        name: 'client',
        description: '日志上报'
      }
    ],
    schemes: ['http', 'https'],
    securityDefinitions: {
    server_auth: {
      type: 'oauth2',
      description: '登录账号密码鉴权',
      tokenUrl: '',
      flow: 'password',
      scopes: {
        token: 'modify pets in your account'
      }
    },
    token: {
      type: 'apiKey',
      name: 'token',
      in: 'header'
    }
  }
};
const options = {
    swaggerDefinition,
    apis: [path.join(__dirname, './controllers/*.js')], // 包含上述注释的文件()
};
const swaggerSpec = swaggerJSDoc(options)
// 通过路由获取生成的注解文件
router.get('/swagger.json', async function (ctx) {
    ctx.set('Content-Type', 'application/json');
    ctx.body = swaggerSpec;
})
module.exports = router
app.js 入口文件
const swagger = require('./router')  // router中做了swagger配置
const { koaSwagger } = require('koa2-swagger-ui')

// 接口文档配置
app.use(swagger.routes(), swagger.allowedMethods())
app.use(koaSwagger({
  routePrefix: '/swagger', // 接口文档访问地址
  swaggerOptions: {
    url: '/swagger.json', // example path to json 其实就是之后swagger-jsdoc生成的文档地址
  }
}))
启动项目,访问项目接口地址 + swagger ,我的地址是 http://localhost:4002/swagger
注释生成文档
在controller层文件每个接口上写注释,注释是以@swagger开头的,swagger-jsdoc 会识别@swagger,然后解析下面的注释,解析完给koa2-swagger-ui显示成页面,总的流程就是这样。
get方式
// 获取博客列表
/**
 * @swagger
 * /api/blog/list:
 *   get:
 *     summary: 获取博客列表
 *     description: 获取博客列表
 *     tags:
 *       - blogs
 *     parameters:
 *       - name: author
 *         in: query
 *         required: false
 *         description: 作者
 *         type: string
 *       - name: keyword
 *         in: query
 *         required: false
 *         description: 搜索关键字
 *         type: string
 *     responses:
 *       200:
 *         description: 成功获取
 */
router.get('/list', async (ctx, next) => {
  const query = ctx.query
  let author = query.author || ''
  const keyword = query.keyword || ''

  const listData = await getList(author, keyword)
  ctx.body = new SuccessModel(listData)
})
post方式
/**
 * @swagger
 * definitions:
 *  loginparam:
 *    properties:
 *      username:
 *        type: "string"
 *        default: "shangsan"
 *        description: 用户名
 *      password:
 *        type: "string"
 *        default: "123"
 *        description: 密码
 */

/**
 * @swagger
 * components:
 *   schemas:
 *     ProjectDetail:
 *       type: object
 *       properties:
 *         id:
 *           type: integer
 *           format: int64
 *         petId:
 *           type: integer
 *           format: int64
 *         quantity:
 *           type: integer
 *           format: int32
 *         shipDate:
 *           type: string
 *           format: date-time
 */

/**
 * @swagger
 * /api/user/login:
 *   post:
 *     summary: 登录
 *     description: 登录
 *     tags:
 *       - user
 *     consumes:
 *      - application/json
 *      - application/xml
 *     produces:
 *      - application/json
 *      - application/xml
 *     parameters:
 *       - name: body
 *         in: body
 *         schema:
 *          $ref: '#/definitions/loginparam' (请求参数这里单独抽出,在上面定义)
 *     responses:
 *       200:
 *         description: 发布成功
 *          content:
 *           application/json:
 *             schema:
 *               $ref: '#/components/schemas/ProjectDetail'(返回参数也是单独抽出定义,这里是随便举个例子)
 *       402:
 *          description: 信息填写不全
 *       403:
 *          description: 参数类型错误
 */

router.post('/login', async (ctx, next) => {
    // 业务逻辑
})
返回示例
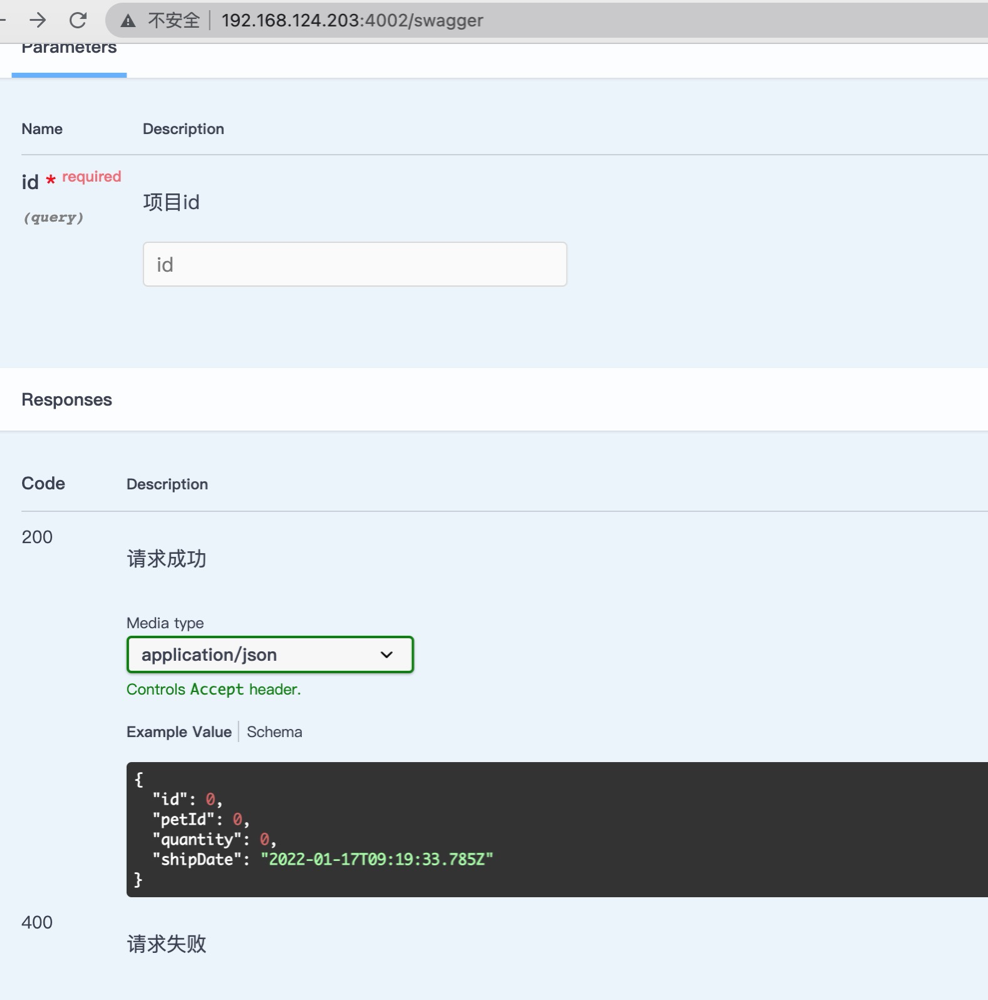
基本的接口文档就生成啦,快试一下吧~